The logo is often the first part of a custom cup project that feels real. It is also one of the easiest parts to discuss too early. If the cup material, rim and closure have not been fixed, the artwork may be built on a dieline that changes later.
A stronger brief starts with the physical package and the way the shop will use it. The design can then be prepared for a cup that already has clear boundaries.
Describe the drink and service method
Tell the supplier whether the cup is intended for cold drinks, hot drinks or a specific application confirmed by the packaging manufacturer. Include the nominal capacity, expected fill level, ice use and whether the drink is sealed by film or closed with a lid.
Material names such as PET, PP and paper are only a starting point. Ask for the specification and food-contact documentation for the exact proposed item. The selected material and construction must suit the intended drink, temperature and service conditions.
Fix the dimensions as a system
Record the top diameter, cup height and any bottom or stacking dimensions relevant to your operation. Check the cup against the sealer, lid, straw, holder, carrier and storage space that will be used with it.
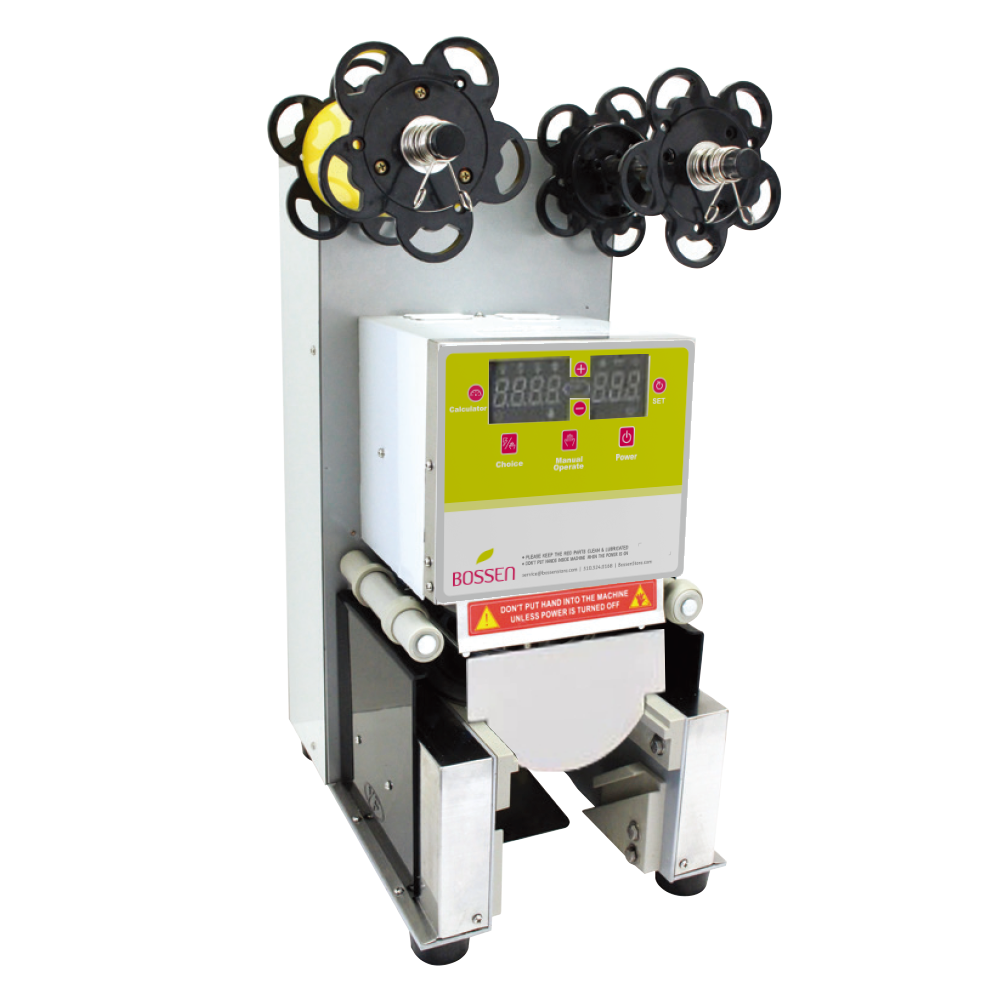
If a sealing machine is already in the shop, send its model details along with physical samples of the current cup and film where practical. A nominal rim size alone does not prove that the entire combination will run correctly.
For multiple sizes, decide whether a shared rim is important. A common lid or sealing setup can simplify purchasing and counter storage, but only if the approved products are genuinely compatible.
Ask for the print area and limitations
Once the cup is selected, request the current dieline from the supplier. It should identify the printable area, seams, curves and any zones where small text or precise alignment may be difficult. Build artwork on that file instead of adapting a flat mockup found elsewhere.
Supply vector artwork, colour references and the intended print coverage. Ask how colours are matched, which file format is required and what proofing route is available. A screen image is useful for layout review, but it cannot by itself confirm the appearance of ink on the selected cup material.
Put approval stages in the quotation
The quotation should distinguish artwork review, digital or physical proofing, sample approval and production. Confirm which stage allows changes and what a revision may do to price or schedule.
Useful items to list include:
- Cup material, capacity and dimensional drawing
- Rim and closure compatibility
- Print method, number of colours and coverage
- Dieline version and artwork file reference
- Packing quantity per sleeve and carton
- Order quantity by size and design
- Required documents and destination
- Sample, approval and production milestones
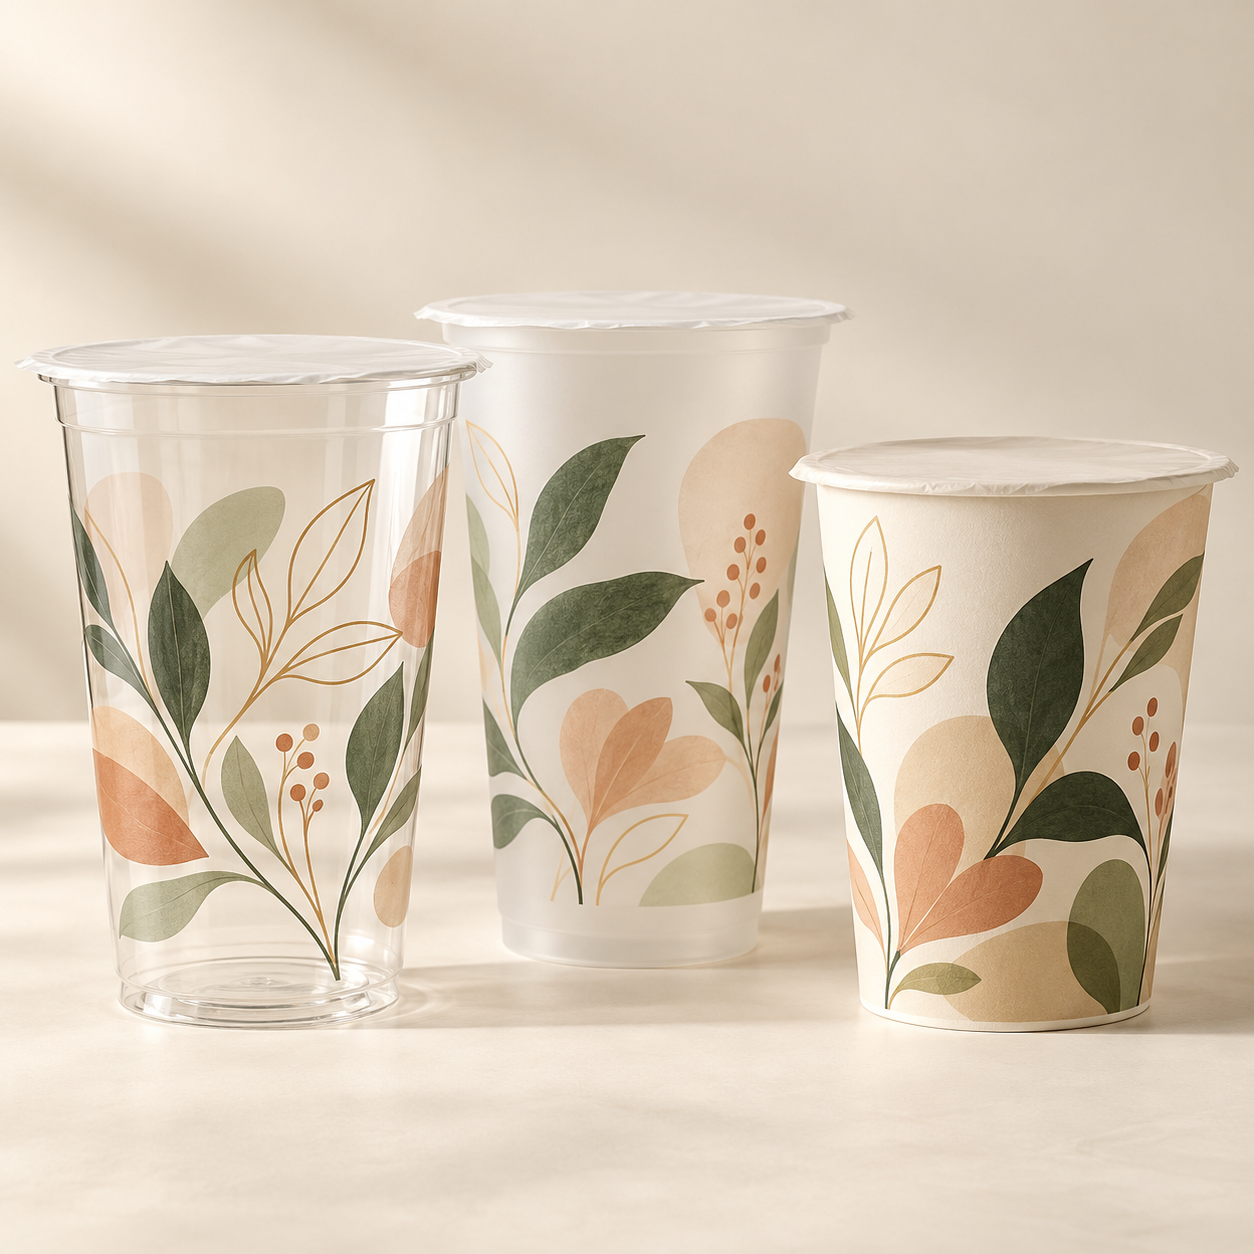
Do not treat a rendered concept image as a production sample. A mockup can communicate the visual direction, while the approved physical sample answers questions about colour, placement, rigidity and fit.
Test the cup in the actual routine
Fill, close, carry and store the sample as the shop will. Check the seal or lid, the feel of the cup, condensation, cup-holder fit and carton handling. Run more than one cup through the normal counter process.
Keep the approved sample, dieline and written specification together. When the design is reordered, they provide a clearer reference than the logo file alone. The artwork gives the cup its identity; the specification makes that identity usable at the counter.